Monday, November 14, 2011

sewing tutorial - crayon roll up


While searching on Etsy I came across this crayon roll up and decided I wanted to make one for Avani.

Materials-
3 pieces of fabric 6" x 12" each (I got 2 fat quarters, which is enough to make 4 crayon roll ups)

1 scrap piece of fusible batting 6"x 12"

1 piece of ribbon 20"


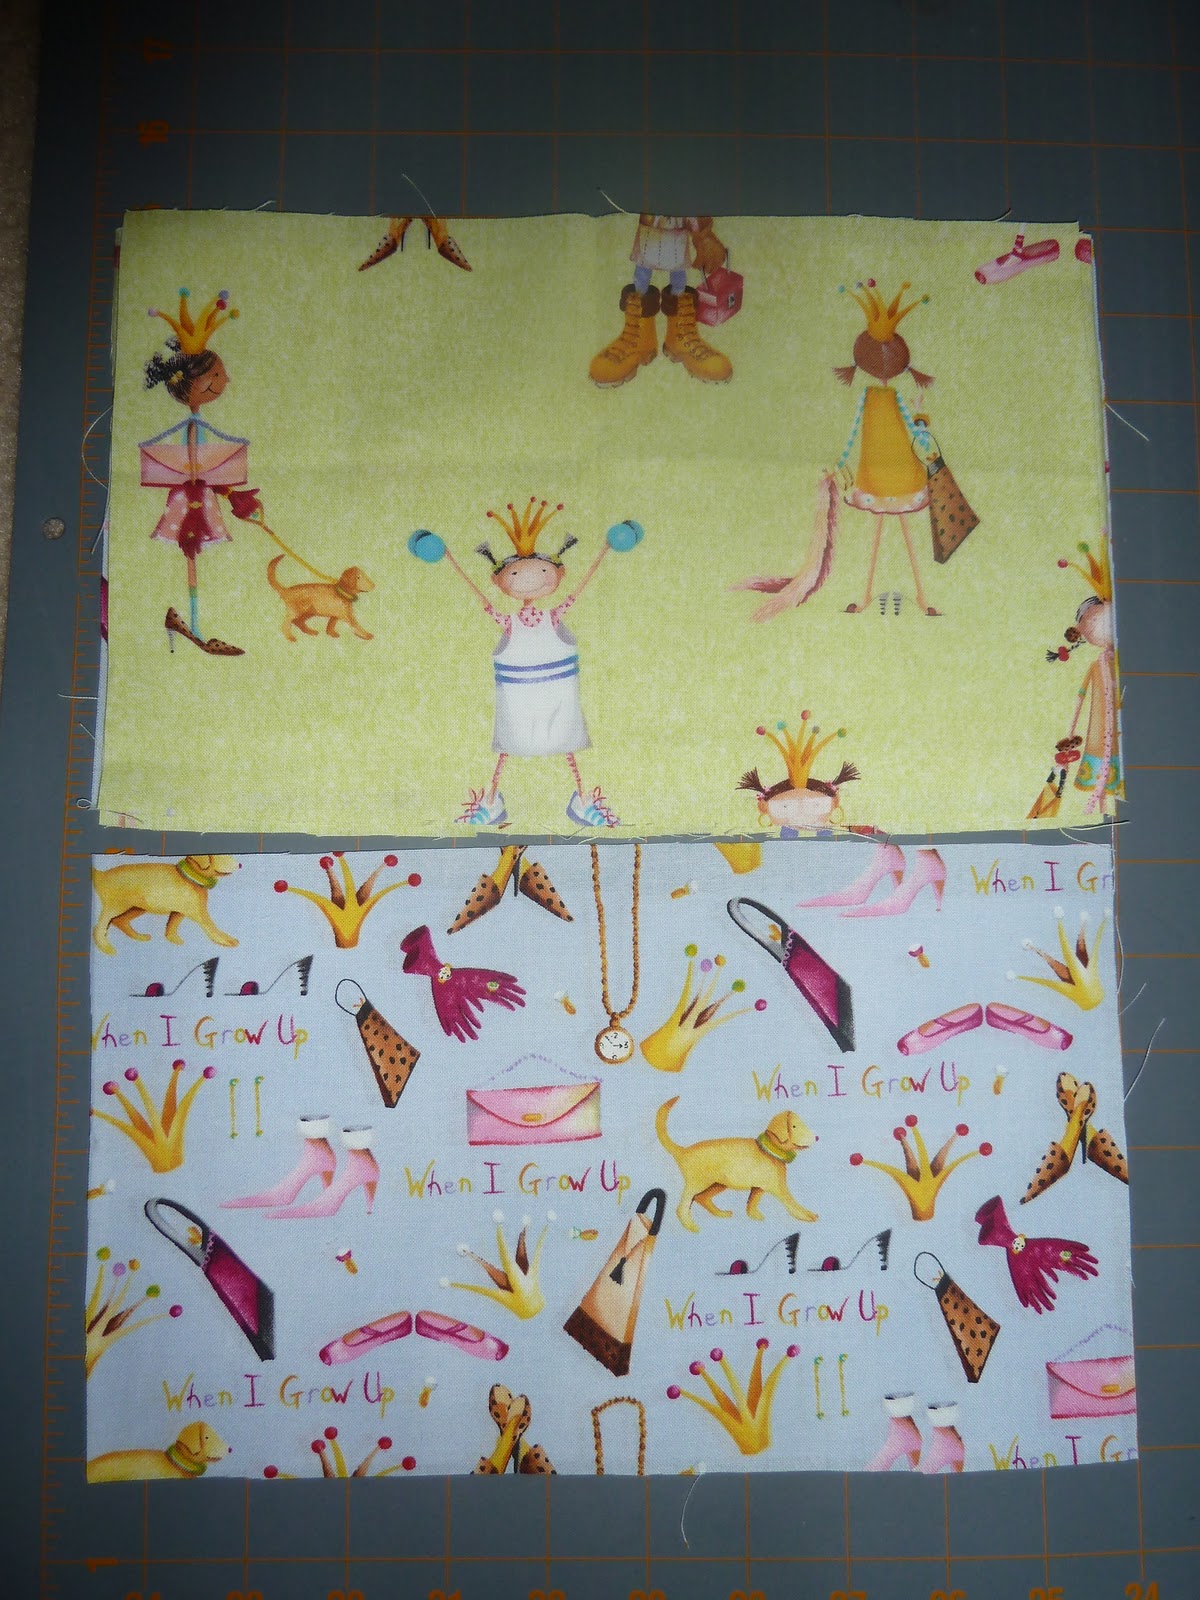
OK- step 1, find you fabric and cut out the rectangles. Here is my fabric- this came in a fat quarter bundle and I think it's super cute for a little girl!


Iron on the fusible batting to the piece of fabric you want to be the inside panel


Take one of the pieces of fabric and fold it in half and sew a stitch to keep it in place about 1/4" in, this is going to be the piece that holds the crayons


Place the folded piece of fabric on top of your inside panel piece


using a ruler or tape measure mark 1" spaces across the bottom folded part. This is one step I should have done differently. you should mark the first and last 1.5" and all the middle 1", this will allow for the seam allowance.

Now you need to sew the "pockets" for each crayon. Start with your machine needle right at the top of the folded piece. Backstitch about 1/4" then continue all the way to the bottom. Do this for each of your marks so that you have sewn every 1" (leaving 1.5" on each edge)

It should look like this once you have done each pocket.


Now take your ribbon (I like to put some "no fray" on each end and let dry). You are going to place the middle of the string at the left side of your back panel. There should be a small amount hanging over the right side, and a longer hanging over the left side.

Pin this and then sew a rectangle around to hold it in place.

This whole ribbon step can be changed up and instead you can add a button and elastic, or Velcro- I am going to make a couple other kinds- I will post those here as well once I have those done.


Now- In order to easily sew the two panels together I thought it was easiest to pin the ribbon inside so it didn't get in the way.


Place the two panels right sides together and pin around the edges. You really only need to pin the corners since these pieces are so small.


Sew around the edges about 1/4" make sure to leave a good 5-6" gap- you will need this to flip everything right side out.


flip everything right side out through the gap you left opened. Sew a finishing stitch 1/8" around the edges.


YAY! You're done!

Sewing Tutorial - Flouncy Bag Part 2

OK- so my lovely sister Rachel decided to take my camera home with her this past weekend- so I am extremely sorry for the picture quality, I had to use my phone!

We left off with the outside of the bag complete


The next step is to create the inside lining.

Take one of the band pieces and one of the inside lining pieces and right sides together sew along the 10" side. Do this for both sides


Press the seam so you have a nice flat look. I probably could have just cut 1 piece out but I didn't really pay attention to the fact that I was using the same fabric for the inside band as well as the inside lining. This would have looked better had I used different fabric.


Place both pieces right sides together and pin the left and right side. You are going to want to sew ONLY the left and right sides- do not sew the top or bottom.


Next you are going to want to pin the remaining oval to the bottom opening and sew along the bottom edges

Once that is completed here is what your inside should look like- there is no need to turn this inside out.


Now we are going to add the straps. You should have two 4-5" pieces as well as a longer strap. Right now we are only working with the two smaller pieces.

You want to take a D ring, or Circle ring, or any "ring" you want really and put it inside each of the small pieces of strap. Fold the strap in half.


Personally I would have liked to use a larger D-ring, and I KNOW I went to the store and got one, but I searched my sewing room for a good 45 minutes, and I could not find it. Finally I decided this would be O.K.

Pin the strap to the inside on your bag. Making sure you have the center of the strap lined up with the seam on the side of the bag.

Do this for both sides.


Place the outside of your bag (right side out) inside the lining of your bag. Pin all around.


You are going to sew around the raw edges about 1/4' in- you want to leave a pretty good size space unsewn -this will be how you turn the bag right side out. I left about a 7" gap (you can see where I placed 2 strait pins next to each other on the right side of the bag- that is how I knew my starting and stopping point). I started at the lower right hand side where the blue and black pins are, and I ended at the top right hand side where the red and blue pins are.


Using the opening- very carefully pull the bag right sides out.


After flipping the lining inside the bag you will see the small gap opening.

You need to pin the opening closed and sew around the whole outside of the bag creating a nice finished edge. I like to sew just right next to the edge 1/10" or so.

I forgot to take a picture of that step- but you can see in the picture below the top stitching around the opening of the bag.


We are almost done!

Take the long piece of your strap and on one of the D-rings fold it over and pin to your preferred length- I liked the look of mine fairly close to the ring. Sew a rectangle on top of the already existing rectangle for a sturdy and clean look.


On the other side- you should have your button and button hole- no sewing required, simply put the button in and your done!

Here is the purse finally finished. Once I get my camera back I will take a nicer picture of the finished product and add- sorry for the lack of quality!


Thursday, November 3, 2011

Sewing Tutorial- Flouncy Bag- Part 1

Flouncy Bag from "One Yard Wonders".

I love this book! great for quick projects.

Here is the bag I am going to make

This is the fabric I ordered that I am going to use. I purchased .5 yards of each not knowing what I was going to make with it.


I took out ALL of the patterns before I realized- THERE IS NO PATTERN!!!!!!!!!
They could have said that!


Since I only have .5 yards of each, I am going to make the two large rectangles (outside of the bag) "striped" So I am cutting one rectangle in one fabric, and the other in another fabric, I will then cut them into 3 pieces each and sew them together.


Cut out your rectangles

These are the two long rectangles
When cutting out the rectangle for the bottom oval

Take the rectangle and fold it half long side, then short side and round the edges
here is what it looks like still folded

2 Cut bottoms

The pattern didn't call for interfacing, but I like when a purse has strength built in it. I put fusible interfacing on the bottom two ovals and the inside panels.  

I wrote it into my book so I would remember to always make sure I had interfacing if I go to make this again.

Now for the straps- it calls for a ribbon to be sewn into the middle of one of the strap pieces.

After sewing the ribbon on

Next place the two sides of the strap together and sew up and down the sides- remember to back stitch

Flip it inside out and iron it to keep the edges down

Sew a finishing stitch along the two sides.

Cut 5" off each side

Fold over the ends twice to hide any raw edges- but I wanted to add buttons- so this step I switched up a little from the book directions. One side I folded onto the right side, then the other side I folded onto the back side.

Sew a rectangle to give it a nice flat, finished look.

Sew a button hole close to the end of the wrong side.

When you flip it over and see the right side sew a button about 4" up

Here are the cut outs of the top band- place them right sides together and sew down one of the short sides

open and press with an iron

pin piping to one of the long sides- my band fabric doesn't have a direction, but if yours did the piping should go along the bottom edge

using your zipper foot sew the piping to the band then fold it in half and sew the other short sides together creating the band

here is what it should look like when finished

Next I took my two long rectangles that were for the outside of the bag and I cut them into 3 equal pieces each (10" each). I then put all 6 pieces together -sew and press the seams

here is what it should look like on the right side

sew along on of the long sides of the rectangle the longest stitch length your machine allows for so that you can bunch the fabric (remember NOT to back stitch) You want this to be the same length as the band before you sew the two sides together

You may want to adjust the seams to make each panel even, I wanted my middle panel to be slightly less bunched then the side panels. Adjust however you want yours to look.

place your band inside the outside panels- right sides together and pin all over the whole thing to make sure the bunching goes together well

flip it inside out to allow for easier sewing.


Once this step is done we have the outside of the bag! Part two we will add the bottom of the outside, make the inside, then put it all together!